
A Scenic Designer holds a key role in the creative team, responsible for conceptualizing and implementing the environment or setting that forms the backdrop of a play, musical, or any performing arts piece. This important role is part of a team that includes several other professionals such as costume designers, sound designers, lighting designers, and the director. All members work together, utilizing their unique skills, to breathe life into the story being told.
STEP 1: The Uncharted Path of a Scenic Designer: Understanding the Script
An individual responsible for the set design in a theatrical or performing arts piece embarks on a unique journey while reading the script. Unlike actors or directors, their primary focus isn’t on character motivations, objectives, or subtexts but instead revolves around the visual requirements and stipulated needs of the production. Here is a detailed step-by-step guide to help a scenic designer dissect the script effectively:
Savor the Script
Begin with immersing yourself in the narrative. Similar to watching a play, the script should be read uninterrupted and in one sitting, allowing yourself to experience the raw essence of the playwright’s creation. Unlike reading a novel, resist the urge to sketch, note down ideas or visualize your interpretation of the show. Only take a break during the designated intermission gap mentioned in the script. If you’re working on a musical, adding the soundtrack to your reading session can intensify the overall experience.
Identifying Sensory and Physical Aspects
The second reading should be aimed at recognizing all sensory elements crucial for the storytelling. This involves marking every detail related to sets, costumes, lights, sounds, props, imagery, colors, and “other” miscellaneous needs. You can simplify this step by using a color-coded highlighting system, assigning specific colors to each category and a red pen for props. This allows easy identification of each element and spotting repeated themes, symbols, imagery, and colors.
While color-coding, feel free to jot down any ideas, questions or names of artists that spring to mind. Underline or highlight all potential elements that pertain to the mentioned categories.
From Chaos to Clarity
After creating a multicolored tapestry of thoughts, notes, and observations in your script, the next task is to bring order to this intricate chaos. Gather everything you’ve highlighted or underlined and categorize them according to set requirements, costumes, props, etc.
Pay attention to the source of this information while creating the list. Did it come from the dialogues or the stage directions? Information derived from dialogues holds higher significance as opposed to stage directions, which are usually written by people associated with the original production, such as the stage manager. Although these directions give insight into the original production, they may not necessarily reflect the playwright’s original intention. Ensuring that the playwright’s intent remains the primary focus of what is created and told is of utmost importance.
STEP 2: Shape Your Vision with Sketches and Prototypes
Once the script analysis is complete, the scenic designer is equipped with a palette of potential visuals and concepts to explore. Now is the time to ask guiding questions to help refine these ideas – which visuals resonated the most? Why does this story matter? What’s the ideal way to communicate this story?
Remember, theatre is a visual medium, and a scenic designer’s duty is to visually communicate the essence of the story to the rest of the team. To achieve this, embark on creating a series of fast, small-scale drawings, or ‘thumbnail sketches,’ encapsulating various design concepts for the show. These sketches, typically spanning just a few inches, are brief expressions of spontaneous ideas and don’t necessarily need to be interrelated.
Once you have a collection of six to eight thumbnails, sieve through them to identify what works for you and what doesn’t. What elements align with the story and provide the director and actors with a conducive environment to connect with the audience?
Following this, select a preferred thumbnail and translate it into a three-dimensional prototype, keeping in mind the proportions. This should be a rapid, intuitive process – a physical manifestation of your immediate reactions and thoughts. Traditionally, these models are constructed on a quarter-inch scale.
On-hand materials like construction paper, cardboard, printing paper, cereal boxes, and legal pad backboards often suffice for this stage. Use scissors or a hobby knife for cutting and craft glue, hot glue, or tape for binding pieces. Embrace the intuitive process – rip, glue, and repeat as much as necessary, without overthinking the outcomes.
STEP 3: Foster Collaboration and Iteration
Designing is a shared journey, and effective collaboration optimizes the results. Arrange a meeting with the creative team to discuss and refine ideas based on your thumbnail sketches and preliminary model. Be open to adjusting your sketches and model during the meeting, inviting everyone to participate in the creative process. It’s crucial to remain flexible to ideas from all team members. The most compelling design outcomes are often the result of collective input, and a successful scenic designer acknowledges and harnesses this collaborative potential.
STEP 4: Master the Art of Drawing and Rendering
The prospect of drawing can be intimidating for scenic designers, often fueling feelings of self-doubt and fear of criticism. However, remember that these drawings, or ‘renderings,’ are not precise replications of the set. They serve as visual aids to communicate the essence of your design concept.
Rendering involves translating your rough model or thumbnail sketches into more detailed illustrations. Initially, focus on capturing the structural elements in your renderings rather than intricacies of color or texture. Grayscale drawings are effective at this stage.
Tips to create compelling renderings:
- Practice freehand: It’s not about perfection. The goal is to communicate your vision effectively;
- Use a blend of lines: Varying line weights can help define spaces and draw attention to key elements;
- Establish perspective: Give depth to your drawings through the use of vanishing points and horizon lines.
STEP 5: Adventure into Drafting, Planning, and White Models
Having embraced the expressive and intuitive aspects of scenic design, it’s time to delve into the precision of measurements and planning. Drafting involves creating scaled drawings that specify the dimensions and placement of elements on stage. It helps answer questions like – how tall should the door be? Where should the couch be placed?
After drafting, turn to building a ‘white model,’ a detailed three-dimensional embodiment of your design that disregards color. Construct it using similar materials as your rough model but elaborate on details such as window mouldings or door stylings to provide a comprehensive visual representation of the final scenic design.
Considerations for the white model:
- Capturing Scale: Ensure the model accurately represents the size and relationships of the elements in your design;
- Attention to Detail: Include as many design details as practically possible;
- Flexibility: Be prepared to create several iterations of your white model due to potential design refinements.
STEP 6: The Grand Finale: Full-Color Scale Model or Rendering
Having nurtured your scenic design from intuitive sketches to intricate white models, it’s time to bring it to life in full color. This final model or rendering should incorporate all the details from the white model, enhanced with accurate colors and textures. You can create the model in either quarter-inch or half-inch scale.
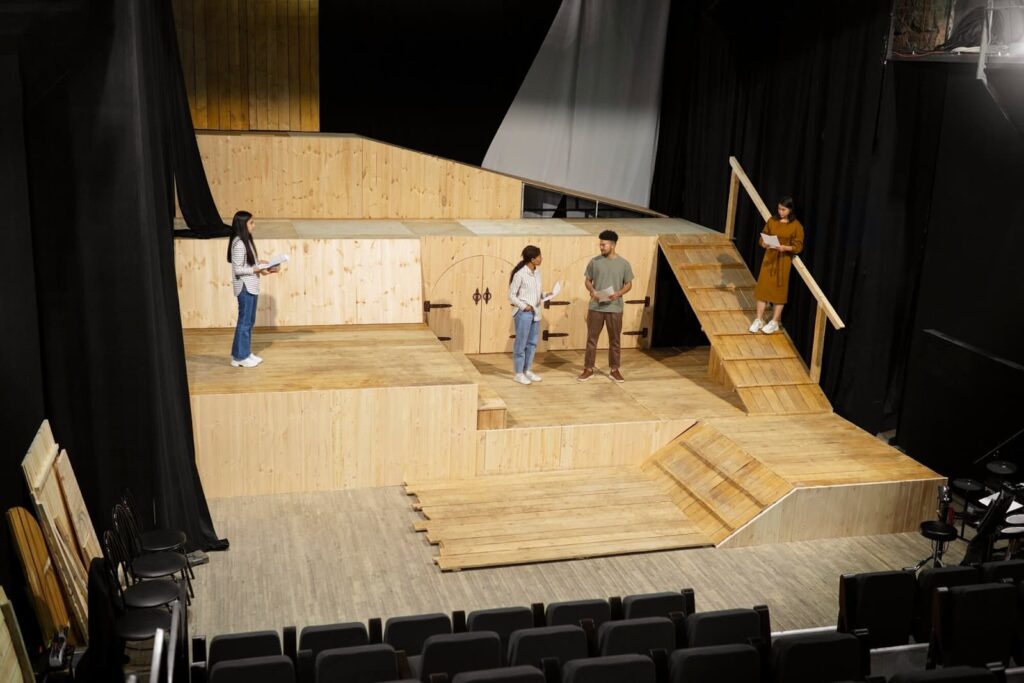
This final representation serves as an essential tool for presentation, particularly useful in the first rehearsal to familiarize the cast with the physical backdrop of their performance. Having a tangible reference enhances the director’s ability to plan the actors’ movements onstage and their interactions with the set.
STEP 7: The Evolution of Design During Rehearsals
The onset of rehearsals doesn’t signify the end of a scenic designer’s role. Instead, it ushers in a novel phase where the design evolves and adapts based on the insights gathered during rehearsals. As directors and actors explore the script and their characters, they may encounter elements unanticipated during the design phase. A scenic designer must remain receptive to these discoveries, adjusting their design accordingly. These unexpected modifications often add a fresh layer of creativity to the overall production.
STEP 8: The Home Stretch: Technical Rehearsals, Opening Night, and Performances
The weeks leading up to the opening night is when all elements converge, transforming months of ideation into a tangible, on-stage reality. It’s crucial to ensure that everything aligns with the initial vision. Explore different vantage points in the theater to evaluate the set. Is the wall color clashing with an actor’s costume? Can offstage areas be seen by the audience? Are additional masking elements required?
Conclusion
The journey of a scenic designer is a multi-layered process, moving from script analysis, sketches, models, and rehearsals to the thrilling climax of the opening night. Along the way, the designer embraces not only artistry and precision but also adaptation and collaboration. As a result, the set becomes a dynamic entity that evolves and enhances the narrative, celebrating the power of storytelling in its visual form.